It's my Wedding Anniversary!!
- Read time: 2 minutes
- Written by: admin
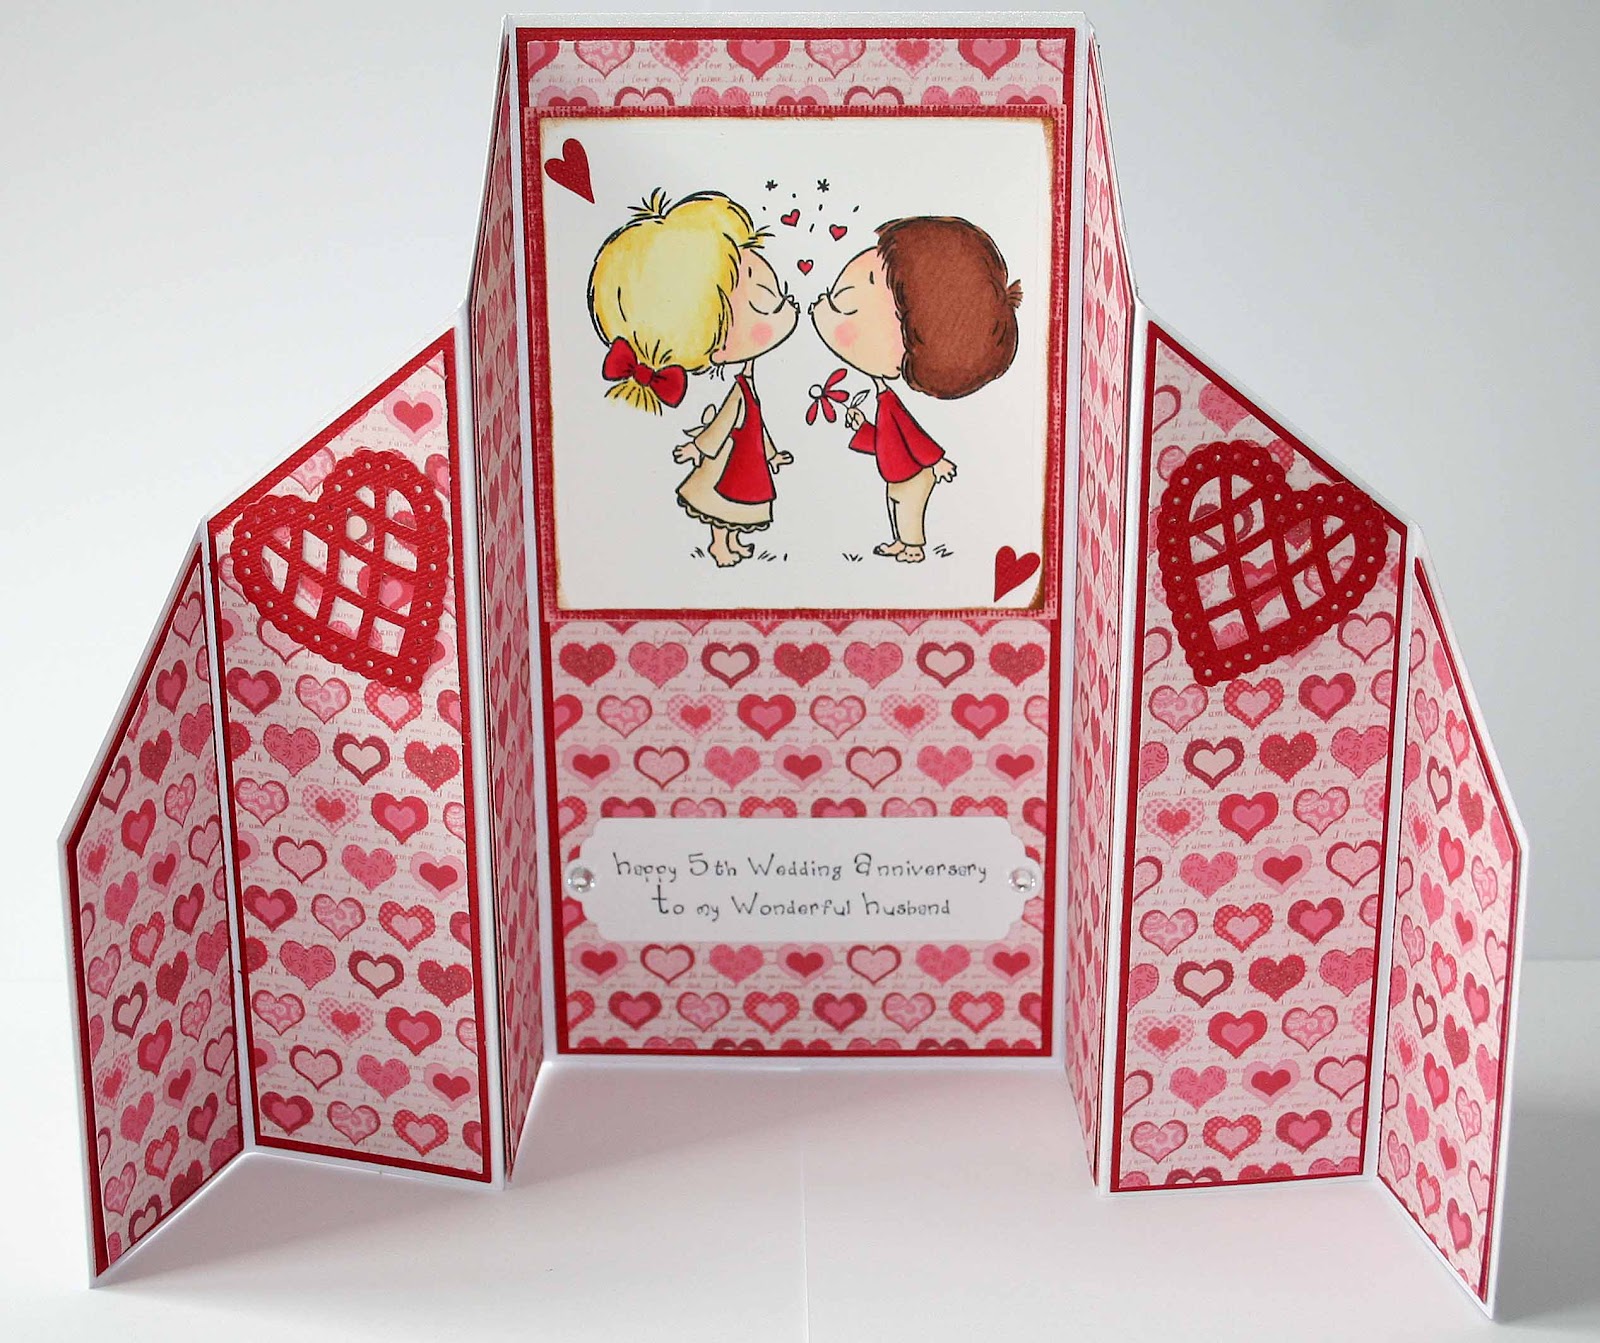
I can't believe how time flies... 5 years ago today since Simon and I were married! Where does that time go!!!Well anyway, I thought i'd take the opportunity to share my lovely annivarsary card with you (well, I think it's lovely anyway, I hope you agree!) and a few piccies from my big day all those years ago!!!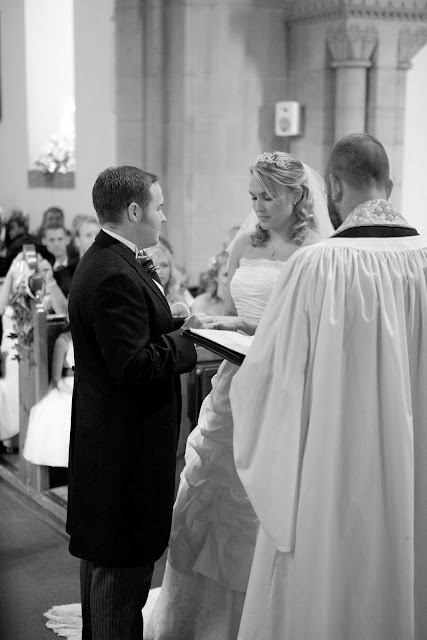 So here's my card... it's me and Simon (albeit a bit young looking on the picture, but then I was only 15 when we started dating!)Just like with Kamala's card I made earlier, this week, there's defintiely nothing better I think than the SWALK stamps for finding the perfect image to say just what you want to say...!This is the most iconic SWALK image - it's the 'A Little Kiss' stamp, and the funky backing paper is one of the papers from Nigel May's All Kinds of Everyhing A-MAY-ZING CD ROM matted onto some Red Core'dinations and onto a base of Centura Pearl.
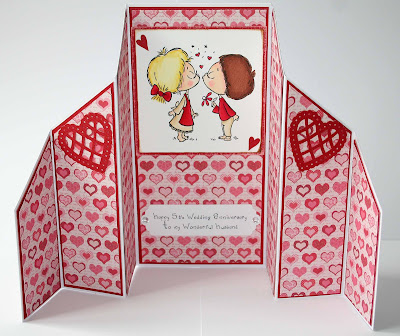
 On the second piece of card, score at 2, 4, and 6 inches. On the Zig-zag part of each card make a mark at 3.5 inches, and then cut both pieces, cut from the start of the first zigzag down to the 3.5" mark.Glue the 2 cards together to form the base.I've then decorated mine as you can see, but you can adapt the style to work with any design.Now to hold the card shut, ive made a belt for it...
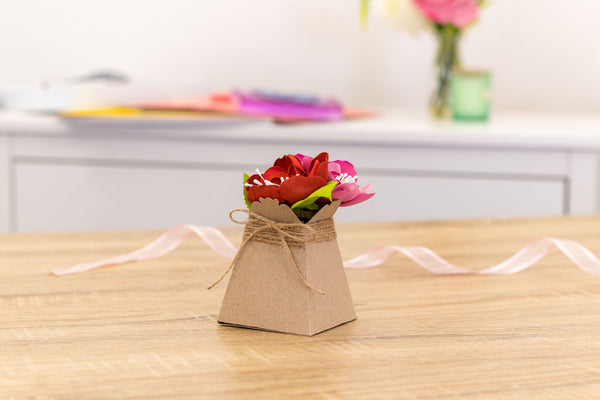
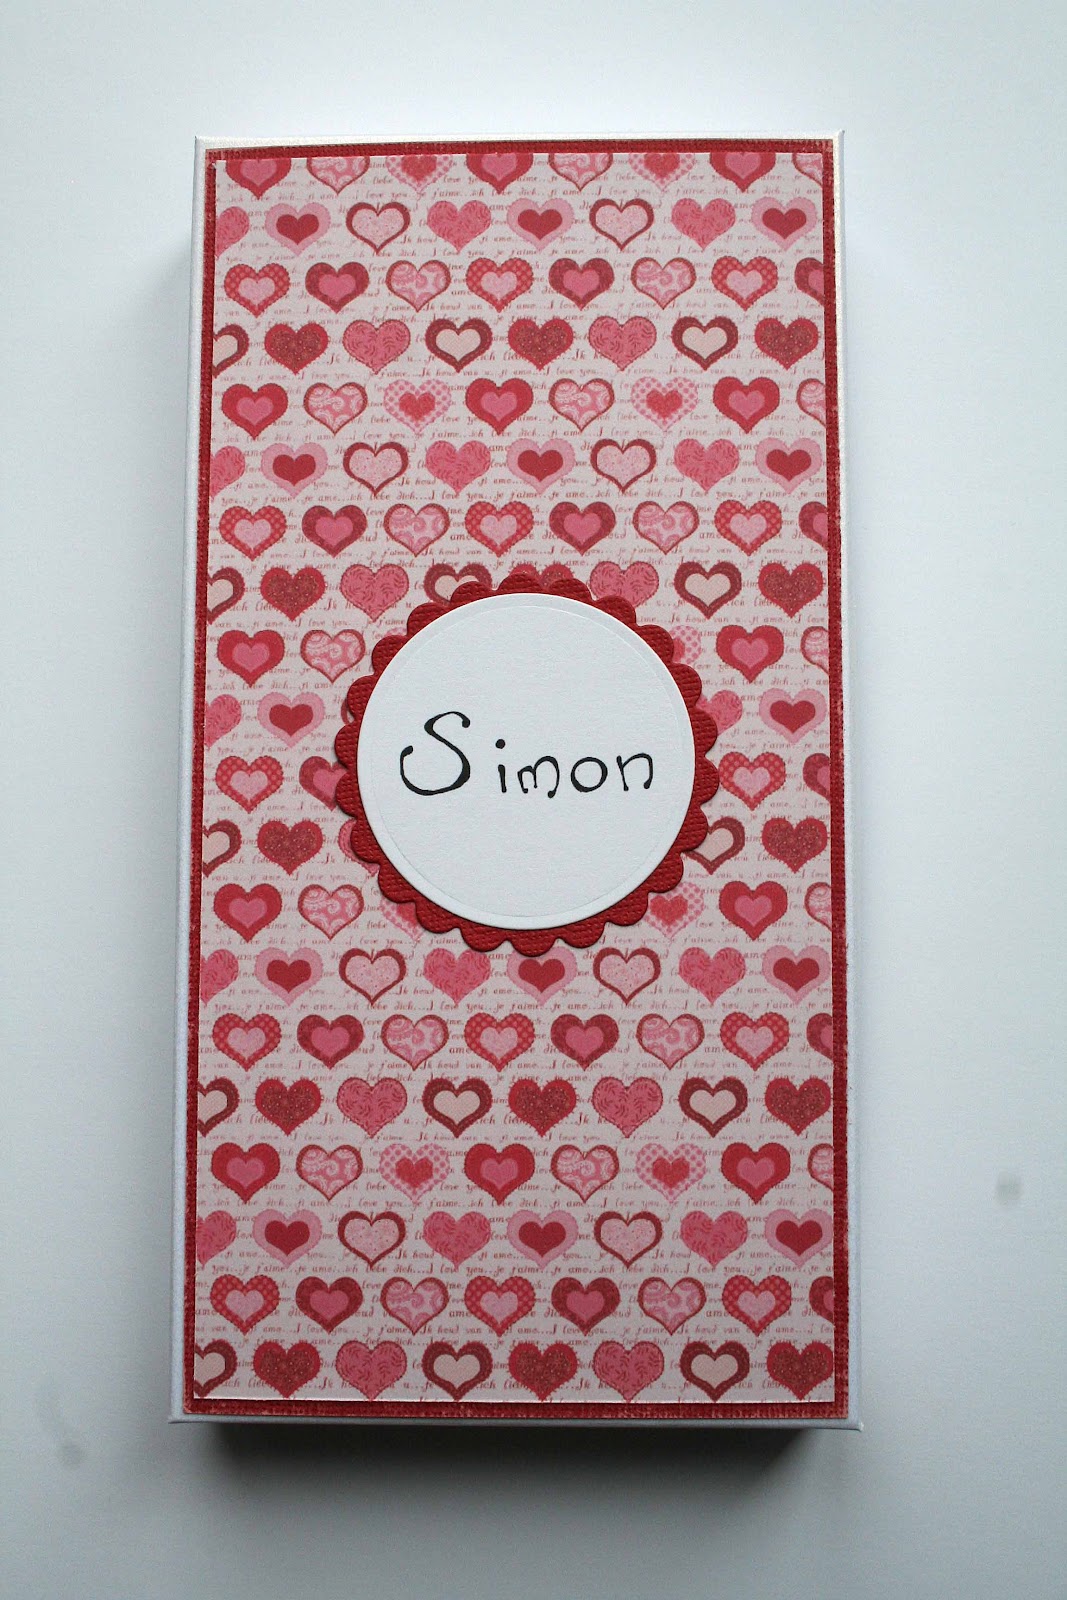
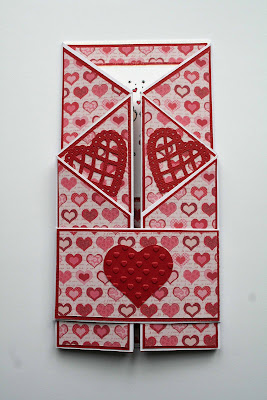 I cut a piece of cardstock down to 2" horizontally, and then laid it centrally over my closed card and made a mark on each side of the card. Then I lined it up on the boxer board and scored the line and then another line quarter of an inch further out from the first line to create a gussett. Finally it just needed sticking together. And then I decorated the belt to match the card.I also made a box to match (well, it is our 5th anniversary - that's a relatively big deal right? There will be hell on in our house if there's not a gorgeous bouquet of flowers AND a lovely meal out, so the least I could do was make a matching box!!)
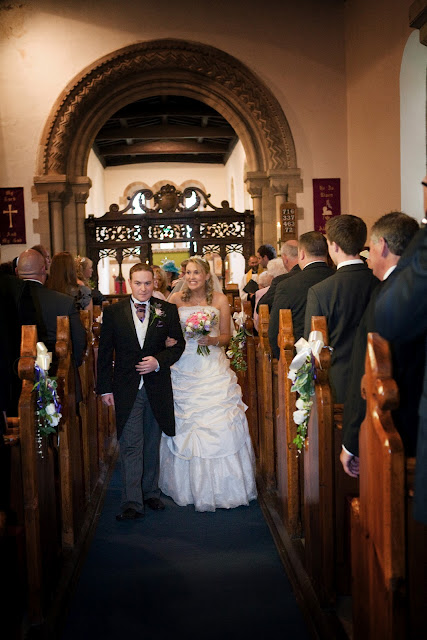
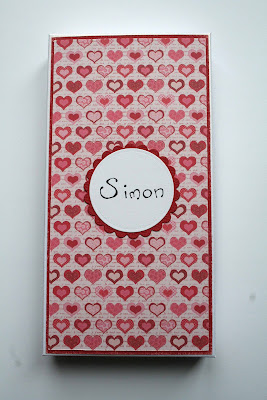 So, just a couple of more pictures.... :)


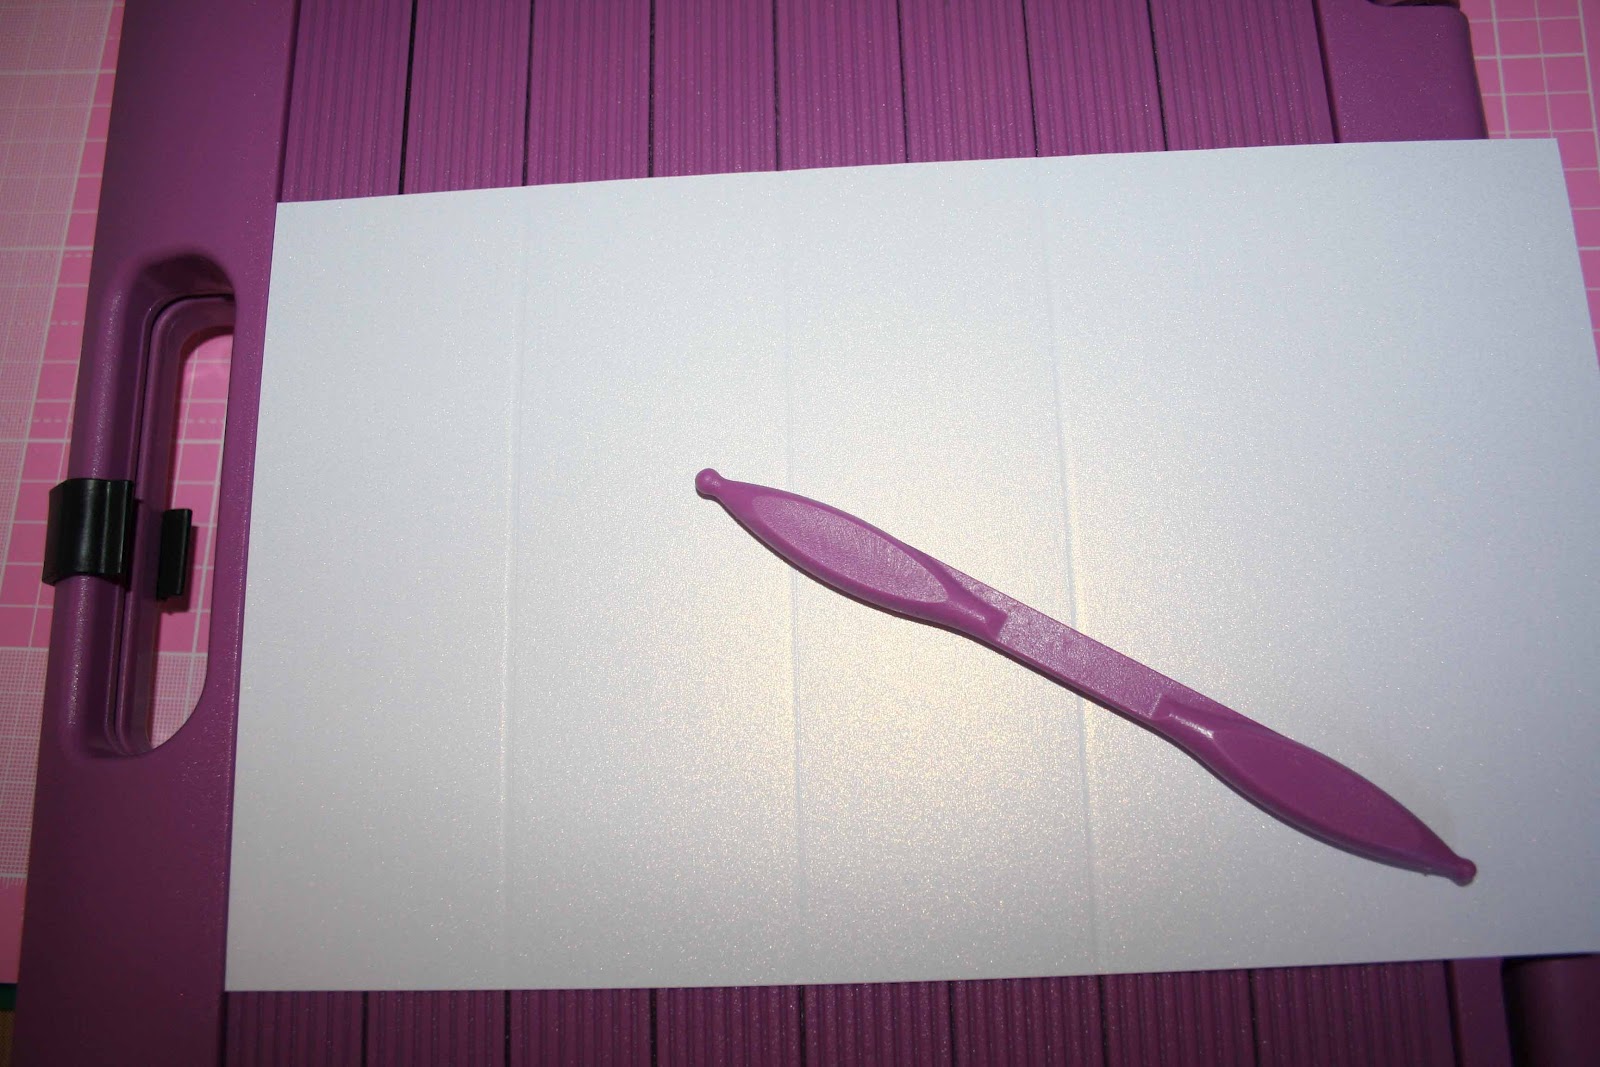
The actual base card is a 'double zig-zag' card - her's how I made it...
Start by cutting 2 pieces of card to measure 10" x 8" (I like to work in inches!!). Place the first piece on the Boxer Board (with the inch side facing up if you're working in inches like me too!) horizontally and score the lines at 4, 6, and 8 inches.


Sara xxx